Summer Island 3D
Summer Island is being produced in 3D for the first time. I used various techniques I learned to produce a very challenging polyisland. With the guidance of the lecturers, I was able to produce with the right technique and according to the creativity that is already in me. Here I will give a little explanation about the production of polyislands.
01
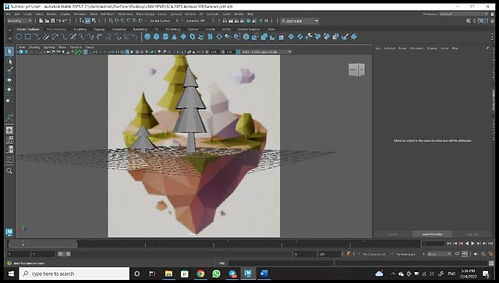
Low-Poly Production Of Pine Trees


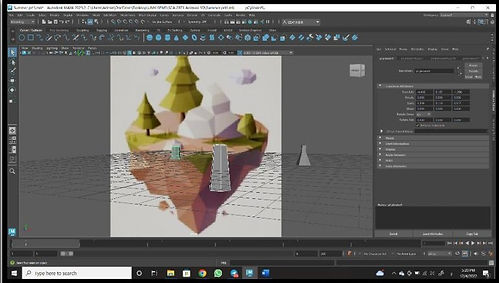
This project is started by creating a new file (File > New > Project Name) and importing images (View > Image Plan > Import Image > Image File > References Summer) as a guide and reference in the production of low-poly models for Island 3D.
The trunk of the pine tree is made using a polycylinder mesh with a resolution of the following:
• Axis Subdivisions: 6
• Subdivision Height: 1
• Subdivisions Caps: 1
The mode is changed to face mode, and then the upper surface of the cylinder is highlighted. then pulled out to form a more realistic tree trunk with using the extrude technique (Edit Mesh > Extrude). After that, the bottom surface the cylinder is enlarged by using edge mood to give it a shape like a tree
The pine tree leaf section has been made using a polycylinder mesh with stipulations as follows:
• Axis Subdivisions: 10
• Subdivision Height: 1
• Subdivisions Caps: 1
The production of pine tree leaves was made using the extrude technique (Edit Mesh > Extrude). The second step is to change to face mode and draw a mesh upper surface. However, the size of each piece will vary to give the appearance of a pine tree leaf. And lastly, parts of the edge that are highlighted and extruded are (E).
For the last process in this section, the finished polycylinder mesh will be formed colored according to the picture reference by using lambert material (Hold Right Click > Face Mode > Hold Right Click Again > Assign New Material > Lambert). Where the Steps Are: The steps are the way to color the tree according to references that have been given.
02
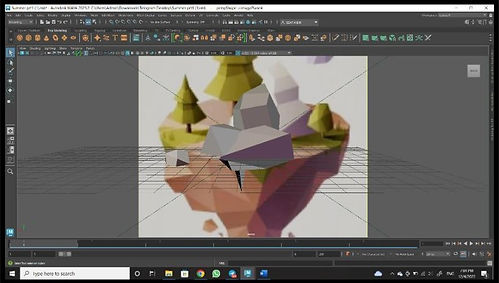
Stone One Low-poly Production


This Stone LowPoly model has been made from a polycube, where the cube will be formed into a rock shape through the extrude technique (Edit Mesh > Extrude). The face surface of the polycube will be drawn and reduced to become a rock. However, this polycube mesh will be formed using vertex mode, where the object's vertices will be changed to give a neutral shape on the stone lowpoly. In addition, the material used on This polycube mesh is "Lambert" and is entered with the appropriate colour to be coloured.
03
Cloud Low-poly Production


Lowpoly cloud is produced using a polycube mesh where the face cube surface is slightly extruded and changed to a slightly smaller size as well as rotated to form a cloud. The cube already arranged will be copied (Ctrl + C > Ctrl + v) to form a cloud that is complete. Afterwards, the "lambert" material is added to the mesh and selected in a white colour to look like a real cloud.
04
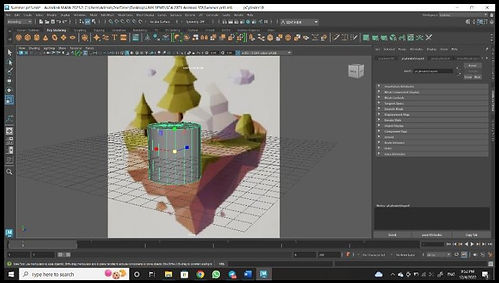
Low-poly Island


Island lowpoly is generated using a polycylinder mesh that usesstipulations as follows:
• Axis Subdivisions: 10
• Subdivision Height: 1
• Subdivisions Caps: 1
Next, face mode is selected to form a polycylinder mesh to poly mesh shape formed according to the reference picture by using the technique Extrude (Edit Mesh > Extrude). Edge mode is used to give edge lines that are closer to the shape of the island. After that, the "lambert" material was put on the mesh and the appropriate colour was chosen to match the reference picture.
05
Merge All Low-Poly Objects

Once finished forming, all completed meshes will be merged into a model, where the mesh will be arranged according to the picture reference. Besides, lighting is also applied to the model to provide shadows on each model to make it look realistic and compact. Once done, model all these polys, which will be rendered using the "Arnold Renderer" plugin.
THE RESULTS

